Sunday, July 31, 2011

Bits and Pieces; Show and Tell

Wow a busy couple of weeks. I am tired out from school but still trying to get a little sewing done each night.

I finally finished off my placemats, the string quilt and the pin cushions to go into the gallery.

Here are my hand dyed pure wool felt pin cushions, They feature hand embroidered flowers and paisley designs I created myself.

Here is the string quilt. I finished with stippling and the quilt is reversible with bright strawberry fabric on the back.

Placemat sets with oven mitts and trivets all ready to go.
And, here are the Precious Hearts quilts finished and ready to post.


So, a good weeks work all in all.

I still have my Moda Verna quilt to finish. It is still at the block stage but will be this week's project.
I also want to get started on the summer dresses for all my granddaughter's for Xmas soon. I am looking out for some pretty fabrics.

I also want to make a journal cover and a not board. Things to do for the week.

Seeya

Back with a vengeance

The exhausting first two weeks of term are over and I can get back to recording my sewing odds and ends.

I have been working on the ten minute block quilts and have managed to finish three in two weeks. Amazing what you can get done if you are willing to fore go sleep.


Detail of quilting; I am still learning how to do machine quilting so not too good yet but they say practice makes perfect!

This is 'Sue's' quilt. Sue is the wife of a colleague who has just found out she has breast cancer. I wanted to make her something to know we are all thinking positive thoughts for her as she enters her first operations and treatment.  I made nine blocks for a lap quilt using a 3 Sisters by Moda layer cake. I chose a deep pink self patterned fabric for the centers. This size is excellent for cuddling on the lunge or watching tv. I hope Sue likes it.

This quilt is gorgeous. Steph's Patchwork had this lovely Paris label fabric which I have placed in the center of the blocks.

I have used the Gothic temple quilting design and kept it pretty simple to allow the quilt to be puffy and luxurious.


This is the scrap quilt I put up in block form before it was quilted. I have quilted temple shape arcs and then filled those in with meandering to add texture. The quilt is super warm and very very bright!
So three good sized quilts finished in two weeks. Watch for my new  posts that have my finished Precious Hearts quilts and bits and pieces for Lizette's gallery.

I  am thrilled to see these finished.

Friday, July 15, 2011

Precious Hearts Day

Today I want to finish off my last two Precious Hearts quilts and post them off.

Finished one last night.


Front

back
Today's qui;ts have similar tops ( all cut from the same stash box) but will have different backs - hearts for Precious Hearts on one nad some spring flowers on the other.

If the day goes well then I might try and get my new Moda Verna layer cake sewn together in the square in a square block I have been playing with.

The layer cake had a bonus thee squares which was cool - thank you Moda ( and Steph's patchwork at Moruya where I purchased it.

I need five squares per block so can get 8 blocks from the pack. I have, however, bought a matching fabric to put in as my focsu squares so am hoping to stretch to nine blocks for a really sweet lap quilt. Not sure who for at this point but someone will need a quilt soon and I will have one ready to go.


So let us see what I can get done on this last day of my holidays.

Thursday, July 14, 2011

A challenge for the day....

...and a challenge it was.

Today I began with a list:

finish of the last set of placemats, oven mitt and trivet

buy wadding and backing for the strong quilt and Precious Hearts quilts

piece the 6 inch squares for the Precious Heart quilts

make two European quilted pillowcases to match the quilt on my bed

finish and bind the strong quilt

So..................


what did I get done?

Firstly, I had to research how to machine quilt.................there are sooooooo many tutorials out there!

I found out that:

you need to relax while you machine quilt ......really? Has this woman actually done this backbreaking task? Her suggestion? Drink a glass of wine before you start. Hasn't this woman read or heard about not drinking whilst operating heavy machinery?

So, I managed to fit the new free motion quilting foot thingo to my new Janome. Found the 'feed dogs' thingamijig and 'dropped' them.

Put on my 'quilting gloves' ( checked these out in the patchwork shop - too much money for maybe one failure) saw they had sticky things on the finger tips and had a pair of gardening gloves that looked pretty similar at home- so they are now my quilting gloves- considering gardening has never managed to be on my agenda and I don't even have a 'live' plant pot to care for ( do have a dead one that needless to say was not looked after and never met the gardening/quilting gloves).

I finished the plcemats pretty quickly. Thry look lovely.

I went down the street early to get my wadding.....managed to fond some at Patchwork on the Bay. David Bates, the owner is always interested in what I am sewing so I told him I was piecing and quilting the Precious Hearts pram/bassinette quilts today. He gave me two metres of backing fabric that a rep had given him today to use for the backs.  Thank you David from all the beautiful babies with heart disease. There is enough for three quilt backs and the bindings so I came home and pieced an extra top.

I finished piecing the 6 inch blocks I cut when I was cleaning out the sewing room. Most of them are pretties left over from making dresses and quilts for my grandbabies.

I did learn today that a good way to baste small quilts and blocks was to use spray adhesive-- very cool and worked. Thank you  for that wonderful tip.

I decided it was time to get into the machine quilting. I decided to try a sample first. best tip amongst all the blogs was to pull the bobbin thread through before starting. After clogging the thread twice decided this must be a good tip and worked perfectly after that.

I used a big swirly design to quilt each block. Not sure if I imporeved.

One of the problems with all the tutorials I read was the RULES!!!!!

RULES

Now, once there are rules then there must follow guilt for breaking them - just another thing in my life to go along with being a pathetic cook, lousy plant pot looker afterer and a host of other things.

One of the rules is that you should never cross a line you have already sewn - really????????????? crossing the line?   well I didn't manage to avoid that a couple of times but just sew (sic) you know, I tried.

Came to putting the blocks together I had to go back to the tutorials to check out how to quilt as you go - again, many many videos and tutorials - clearly I need hands on teaching here. Could not seem to make it happen. Eventually got there but  trying to get the points together with all those layers was a nightmare- had to go back to old fashioned tacking. I did try to 'debulk' my seams. I am an English teacher so metalanguage is important to me. 'Debulk'? I think they apply that word on medical shows to tumour removal.

I did try 'debulking' and all the other hints but the whole task was onerous.

Finally got the quilt together so now just have bindings to sew on. Should have it finished tomorrow and will post a pic.

Now I am the master of machine quilting ( hiccup loudly here as one should imagine I was relaxed from drinking while I did it- except  I don;t think Chai tea counts) .

I decided to put a little owl applique on the back of the pram quilts.


Here is one finished. I will finish the other two tomorrow and send them off to Precious Hearts.


So, didn't get everything on the list done but covered a fair bit so am pretty happy with my day. I will be sad to see the end of school holidays and sewing.

Tomorrow is officially my last sewing day of the hols.  So sad.

More pics tomorrow.

Wednesday, July 13, 2011

Freda's Hive: "Doll House" Potholder Tutorial

I found this gorgeous tutorial today....just have to make some for myself and my daughter. She will love them.

Freda's Hive: "Doll House" Potholder Tutorial

still 13 July and..............

it is almost done.

By 1:11, 3 hours after starting  my cutting I am at the final block stage.

64 squares cut by 10am - had to stop for a cuppa and a chat with my granddaughter Rory


16 ginger zinger squares cut, folded and pressed for my sandwiches
Ready to SEWWWWWWWWWWWWWW

I decided to chain stitch so set up all my squares with the first sandwich.


All sewn together ready for the other side of the sandwich.


The final seam pinning took about 20 minutes but then the result......


I have laid the quilt out on my bed. Still think it needs a little something so am off to Steph's Patchwork for a crazy ginger zinger border.

I am very happy with this...might need sashing?

Will show off the final product soon. Not bad for 3 hours work!

13 July A great day for a sewathon!

8:11

Make the decision to keep attacking the stash cupboard. I want to make another quilt colorway of the 3 seam quilt. I think I shall empty the top shelf and see how many fabrics there are and make a scarppy style quilt. The dimensional squares will all be the same to tie the quilt together, I can bind in the same fabric, but all the sqaures should be different.

MMMM..... so, for a queen bed quilt top I will need 64 scrap squares and 16 feature squares.


To the cupboard.....

OKAY................. 70 fabrics here in a variety of lengths and sizes. A couple of squares extra will be handy for any fabrics that just don't work or can be used to make some matching euro pillows.

I hate cutting but here goes.....

9:10 Time for a rest .....

32 squares cut so half way.


Some of these fabrics are quite old- over 20 years; and there is at least one vintage apron scrap I have had for over thirty years- so sad... but they will look amazing in this scrap quilt and smile happily at me from my bed by tonight... I hope!


So tea and toast finished, I have indulged myself with sitting in the sun drinking tea and eating toast with Rose's Lime Marmalade- just the best... but back to the quilt. Will post more when the other half of the squares are cut.

Tuesday, July 12, 2011

Time to record the past, present and future

Hi.

Well another foray into blogworld. I have not accessed my old blog, 'Sew Me Sillly' for a while now- and life has taken on new challenges and  I find myself sewing more for enjoyment again.
I seem to have put on a spurt the last few months- must be the colder weather:-(; however, I live at the beach and am lucky enough to enjoy pristine sunshine most of the time.
I am back to quilting and sewing with a frenzy. last year I made dozens of owls, several quilts and clothes for my grand babies. This year has been no different but I am also sewing for me.
I turned 51 this year- whoa!!!!!!!!!!!! Happy Birthday to me.
Time to rethink the future and reflect on how the learning of the past can shape my next phase in life… Not that I am thinking of anything radical just yet- more that I want to start thinking about where I will be in ten years from now. Will I still be standing in front of increasingly fractious teenagers teaching HSC English? Will I move? Will I …well you know, the myriad of questions  we all face.
I, however, am in the unique position of having grown up children, no spouse and so,……..can do what I want.  A liberating concept.
So quilting it is- and sewing etc. If I can make a few dollars and put some away for a trip to gay Paris with my youngest daughter next year that would be nice.


Last year I was fortunate enough to sell some of my hand mades in a great gallery in Mossy Point (Eurobodalla Coast, NSW). Here is the view right outside my door.

This year I am making a new range of bits and pieces to test out what is selling. Me, I like a bit of retro- seeing that I am now retro of course. So here are a few of the things I have made over the past few weeks.
You might enjoy my tutorial on the new quilt top I just made- in less than thirty minutes!! A little start to Christmas.
I hope to find some friends in the quilt blog world- looking forward to sharing ideas and life.

Pamela

Where do I start?

Well I did decide I needed some art work in the lounge. I am a renter so hanging art is always a hassle but I was allowed to put up a hook for this:
Paper, acrylic paint, vintage doilies, found objects and buttons on canvas. Sits above my new lunge.I love it. It sparkles,


To the more practical end of the spectrum,  I decided I needed some oven mitts - cooking is distinctly NOT my thing but if I do cook it would be good not to burn my already aging age- spotted mitts - pardon the pun.

Just love retro orange and green. The orange fabric is old curtains I bought  from an op shop more than 20 years ago - I just love it!

My other love in life is felt- I love making shapes, embroidering it etc. So I decided to make felt tea cosies for both my tea pots- they both appreciated the extra warmth now it is winter.


Note the divine canisters in the background. A garage find about 22 years ago and still serving my tea for me.


So with my cups of tea and prospective cooking looked after I got to making clothes for my twin grandsons' first birthday- cannot believe it has gone by so fast. I made matching outfits and a matching dress for their sister, my Rory girl.


My daughter wanted a red and white theme. Oscar's outfit is the boat- with an O on the stern and a number one in the sail. Fraser's outfit is a little plant with F on the tale and one on the wing.


This is Rory's dress- she didn't wear it on the day but had some formal shots taken in it recently and her Mumma is going to send me some of those.


I made a few extra outfits for the boys for winter as well.


With all the baby clothes making and showing off the photos of my beautiful babes to colleagues at school a colleague, the beautiful Belle, told me she was looking for 'burp cloths' for her sister's new baby boy, Jonah. I got to it and made a sample which she loved and then made a few for her, and a little quilt for Jonah!


Couldn't resist the whales!

This was my favourite burp cloth- has pockets for wipes etc.

and a whale.................

My three besties invited me for lunch for my birthday. We all have out birthdays within a few weeks so I made them some placemats each. Here are the super patchwork ones, with matching trivet and oven mitts for N.


I really loved these and have made some reversible ones for the gallery. sets of four mats with matching trivet and mitts. Love the lime green ones best.


My Rubi girl told me she was cold- she lives in Canberra, it is cold. So I made hot water bottle covers personalised for her and her partner. Initials on each. hers have extra foot warmer layers to slide her toes inside the cover like little feet pillows.


So to this last few days where I can be home for a week before going back to school.


Last weekend while I was in Canberra I went to Addicted to Fabric. They had some leftover block of the month packs which had about thirty 4 inch strips of different bright fabrics. So useful in my applique stash!

Saw a pic on the internet somewhere for a tree of leaves and so made my own version.


I wanted to clean out the sewing room - I have taken over the dining room with the colder weather, don't want to have to heat too many spaces. Moving back and froth has made me lazy and I could not find some of my scrappy bits so a clean out was in order. I decided to go through all my scraps and odds and ends. Yesterday I spent the whole day cutting my bits and leftovers from projects into 6,7,8 inch squares and a range of strip sizes. For some inexplicable reason, probably brought on by my singing 'I can see a rainbow' to myself ( sang it with Rory girl all last week while staying with her), I decided to make a string quilt using the foundation method. Don't think I have done one of these before, at least cannot remember doing so. Sent Rory a photo this morning, she loved it.


I was banned from taking any more dollies out to Young this time so made some placemats for the kidlets instead - and a set for my son's four children.


Which brings me to today - I am so proud of myself, got through a lot in the last month. To digress, yesterday I was looking for a quilt as you go tutorial as I thought might be a quick way of finishing the string quilt. Instead, I found a tutorial video for a 10 minute, three seam block. yes, just three seams.  Very cool. So I made a block yesterday.  View a video tutorial here. My step by step to making a Christmas wallhanging is below. 

love the Eiffel towers
And.... after whipping in to town today to get some wadding, and there not being any, I bought some new little Christmas fat quarters and made another today.

Here is my tutorial for making the quilt.

For a one metre by one metre wall haning quilt purchase five ( or six as I did) fat quarters. The key here is to have at least one focus fabric and four background fabrics. I chose four fat quarters, two each of two fabrics on cream and gold.

Step 1: Cut the fabrics into ten inch squares.

For one block you need five ten inch squares.

Four cream on cream with gold detail Christmas fabrics, 10 inch squares.


This cream fabri is very pretty, Chrysanthemums with gold edges.

little gold swirls on cream.

 One focus square - a little traditional for my liking but will work for the purpose of this tutorial. I do like the gold detail.

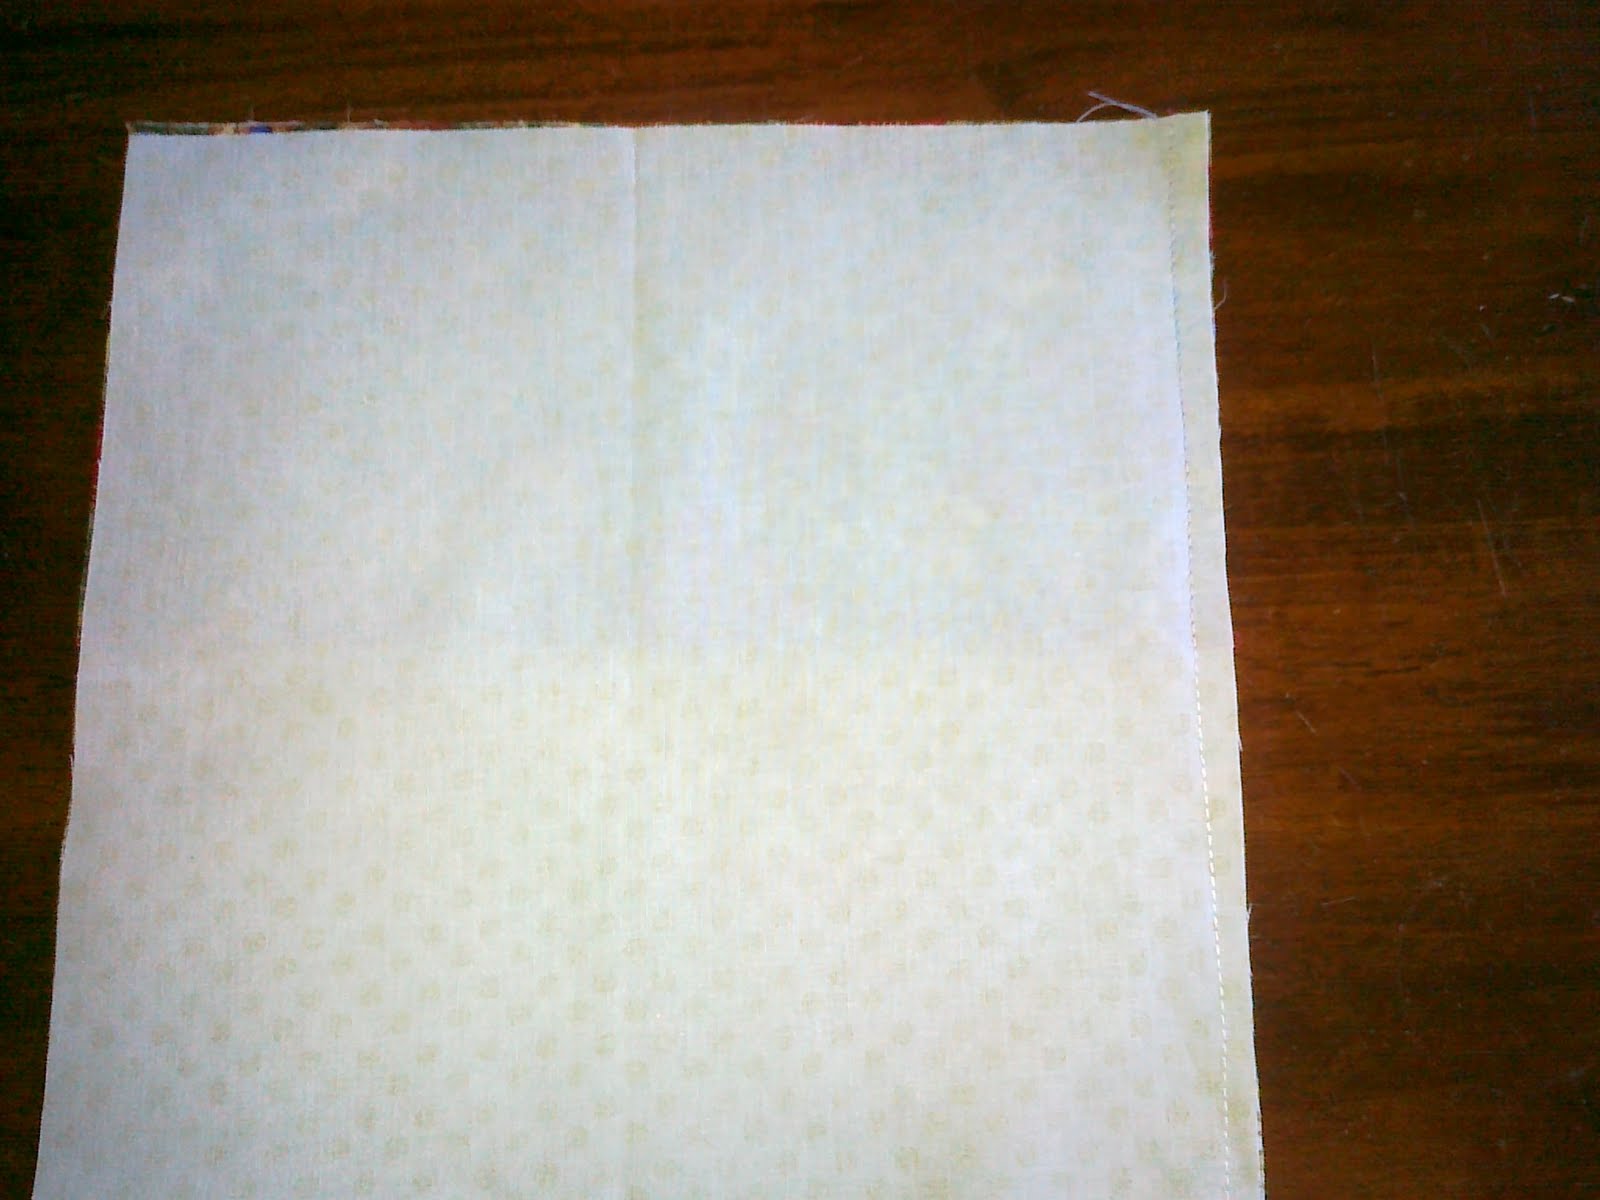
  Fold the focus square in half, wrong sides together, and press.

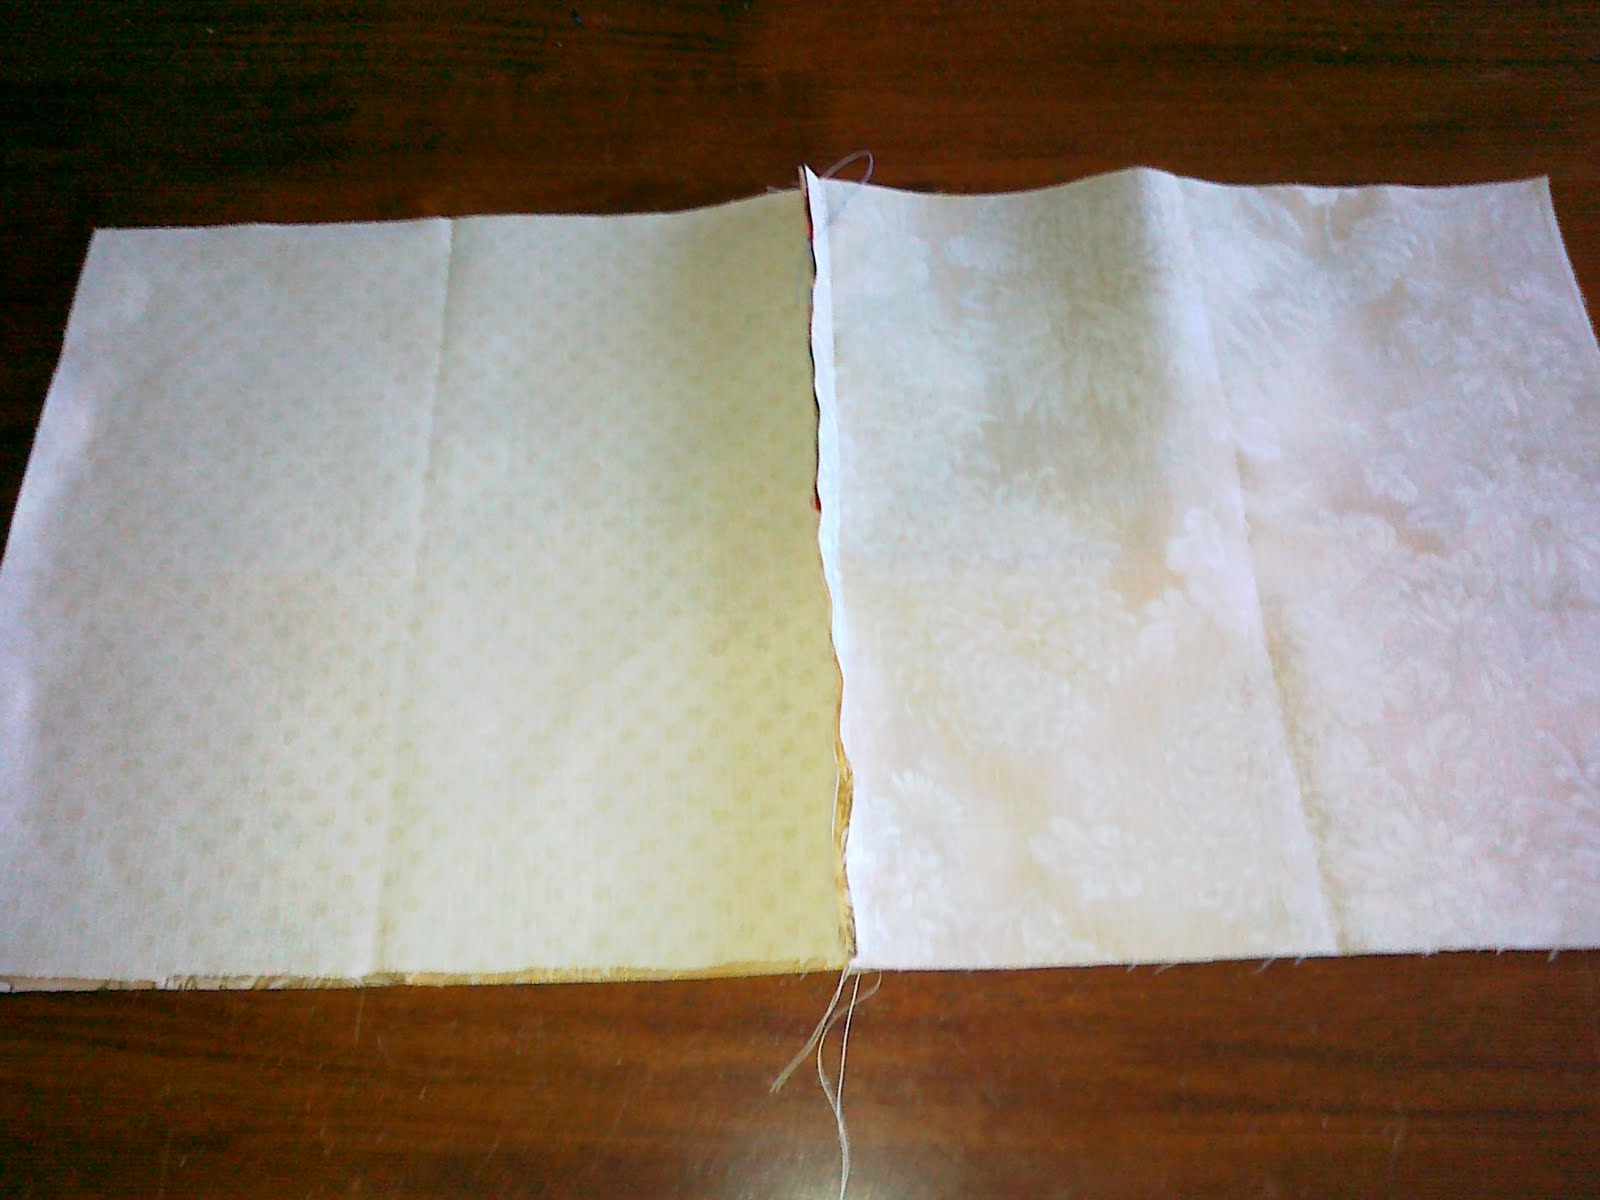
Place the focus square between two of the cream and gold squares. The fold should be towards you and the raw edge away from you.


Pin the right hand side from the top to bottom then stitch. ( Seam 1)


Open out the cream fabrics so the right side is showing. Press.


Place the focus square as shown above between two more cream  squares which are right sides together. One under and one over.


Pin this left hand seam and stitch. ( Seam 2)


Once this seam has been stitched, open out the fabrics so you can see all the right sides and press. You have a strange flag looking piece.


Now for the fiddly bit but don;t be scared off- still very easy.

Lift the top fabrics from both sides up to meet each other.


You then straighten the work out into a long sleeve.


so looks like this with the open seam at the top. all top edges should be raw edges.

if you lift the bottom of the fabrics up you will see the focus fabric folded underneath.


Looking down at the top of the raw edges you can see the focus fabric still folded to one side. You will need to open the fabric out across the centre seam.


Opening out the fabric. You will want the focus fabric to now be right sides together with the cream fabric.

 Once the fabric is opened up you need to pin the centre seam first, use the dove tail method to ensure lack of bulk in your seams.


You need to 

Pin right across the top of the raw edges ensuring the raw edges of the feature square are even with the raw edges of the cream fabric.

 If you lift the bottom of the fabrci up at this point you should see a duck bill look shape.


Stitch right across the top.


Ready to open the final block.........................


Get ready for the big surprise.................

Wah Lah.........


Now make three matching blocks to practice your technique. I used a green cotton Christmas fabric to add contrast.


And expand into four blocks.


The squares in the centre of the blocks are on the bias so you can turn them back they make mock cathedral window shapes.


You can create the quilt anyway you wish from now. I plan to quilt then add tassels to the bottoms of the squares. As they are three dimensional I am going to make small spice bags, cinnamon sticks and cloves and insert them into the little pockets that are evident.

Alternatively, you can sew the edges down as you quilt.

I hope this is not too difficult  but the quilt took less than half an hour to put together. My plan is to make a scrap quilt and use black and white spot centers to tie it all together. Photos to come.